A perfect circle

I started the weekend by trying out my idea for cutting a neat circle.
The plan was top make a jig that would allowe me to turn the mdf from which the circle is to be cut on an axis, ensuring a clean accurate cut.
I measured the circle, drilled a central hole to take a dowl and then cut another hole into a thin piece of ply which fits perfectly against the base of the band saw to hold the circle the correct distance from the blade.
I had to cut a line into the mdf to take the blade (this was at right angles to the circles diameter), once done I gently turned the mdf on the dowl and ended up with a near perfect circle.
Cutting the inner circle for the wheel was not as effective because aligning blade and curve  was difficult but now I have the principal I will get there!


Once I had the front wheel I went back to the design and made a basic chasis, with lots of reference to choppers and trikes. So far everything moves including the steering column. To keep construction simple and not spoil the lines I'm using brass rods to pin all the sections together, this proves strong and easy to take apart as I cange and add bits.

The last photo shows some bits of plastic resting in place as I try ideas for the mechanics.


Making wheels

I've been struggling for a while with making wheels. either as part of an automata or just cutiing round shapes from wood, especially for wheels. Where possible I've used found bits of plastic, which has been fine, but as I experiment more with automata this is not always enough. When I started thinking about my latest project, a steampunk racing car, I knew I'd need to come up with a practical solution.
There are various options:
You can buy circle cutters for pillar drills which are fine for small circles and cogs. they are relatively cheap and some are adjustable.
For larger circles, such as the wheels of the car I'm making, I need something else.

Below you can see various wheels I've made today:
First some plastic bits I had lying around; either too small or just not the right look.


Secondly I tried cutting a shape from MDF, lots of careful measuring and drilling holes, but still not what I wanted. However I did realise when doing this that having the wood on an axis allows for a smoother and more accurate cut. Initially I held the wood by hand and rotated it applying pressure to the centre. Better than before but not perfect. My next job is to rig some kind of clamp to my saw that allows me to do this. I figure if I have a dowl spindle in the centre of the circle I'm cutting and attach this to a clamped arm I will have a reusable tool for cutting circles.(we shall see)


The final wheel was again hand cut but with brass spokes added. Again careful measuring was needed to mark the spoke position.
A dowl (which doubles as the wheel's axel) was added to the mdf circle and by clamping the wheel I was able to cut  a series of vertical holes for the brass rods.
I then cut out the inner shapes (this meant the wheel rim has a slit in but this doesn't really show) and repeated the process. You can see the first attempt split in half.

The end product, lacking some spokes looks just right.
The circles are not perfect, needing some sanding but are far better than previous attempts.


Steam punk racer

I'm still enjoying making mechanical contraptions as part of my figures. While making The Professor in his walking chair I played around with the angle he was sat, or in one case reclined, which gave me the idea of a steampunk sports car. I haven't decided on the style yet (sleak and curved or more along the line s of early Victorian steam cars) but it will ahve lots of moving parts behind the figure.
The plan is to make a static version and then recreate it as an automata.

So far I've made the basic figure (a close copy of The Professor) from a wire armature covered in folded newspaper and card for shape/bulk.


In the second photo you can see where simple card shapes have been added to the armature with masking tape to create the basic jacket. The figure has just been covered in PVA to keep the masking tape from peeling off and create a smoother surface. I've found that building up layers of tape and glue gives a better finish than covering with a layer of tissue which tends to hide detail and wrinkle.


Below you can see straps and buckles drying ready to add to the coat. The straps are cut from a double sheet of newspaper (glued together before cutting) and then wraped in a piece of tape for strength and thickness. A brass ring is being held in place while the glue dries. Holes will be added with a spike and a small piece of brass threaded through to create a buckle. The back looks messy but when glued to the figure looks fine.


More bits to be added, you can just make out straps for goggles and 2 pieces for the coat, made in the same way as the straps but with thin wire all around the edges. The result is very strong and flexible, far better than the sculpted card in ealier figures.


The chair clamped toghether while drying.


Finally a couple of pics I found while searching for ideas


The Professor


Steam Punk Chair

After a couple of weeks of fiddling with this figure over the school holiday's it's finally taking shape and I'm fairly happy with the direction it's taking. I have all the main shapes including the figure worked out and am now happily adding details in the form of cogs, pipes etc to it. Sadly the new term beckons so it will take a while to finish. Always te way, you get into a piece after a bit of struggling and then have to leave it!


Below you can see the chair waiting for the figure to be slotted in. It has just had plastiroc padding added to the arms and some plastic neds removing and spraying but you can see the display console which I really like, made from 2 brass rods threaded through various bits of plastic. It even swivels.
You can also see the green tubing which will go into the figures back which I removed from some piece of medical equipment I found which has a suitable mad scientist look.
I've yet to add all the cogs and gears below te figure. Sadly I hadn't given tis any thought until well into the making but I realised it really needed the complexity of these showing to give it the look I wnated. As a result on careful examination the fianl piece will look totally impractical.
It has given me the urge to create some more mechanical automata though. I fancy a steam punk race car next as I really enjoy making these retro looking macines.
I have considered adding a mechanical hand to the chair, but again as this is an afterthought not sure how to add it. The photo below is of a figure I started last year but never finished. I may use the design of his claw hand.
As I develop more of this kind of work it has become self evident that I need more planning and design work. Normally I have an idea and just start making, but these more complex mechanical forms don't come together so easily with this approach, to quote Xander Harris "Measure twice, cut once, for the longest time I tought it was the other way around"

chicken legs

The two legged chair (I've seen this called chicken legs, presumably because of the jointing, but I can't say that it gives the air of menace I wnat from this figure!) has finally got past the basic construction and is now taking on the character I wanted. The legs need a lot more detail and gears etc to give a steam punk feel and I hope to add more consoles and arms to the chair but you can see where it's going.
The chair has been covered in plastiroc modelled to look like padding. The boiler is bits of plastic I've found wrapped in strips of card studded with split pins, you can't see it but the boiler is covered with strips of masking tape which when stained will look like planking.
I found some coiled plastic tube which I plan to have coming out of the figures back like feeding tubes.
The figure is taking shape, he is a thin wire armature with almost no padding covered in tape to give him a gaunt skeletal look. He is awaiting a long coat and lots of straps and tubes.

steam punk cricketer

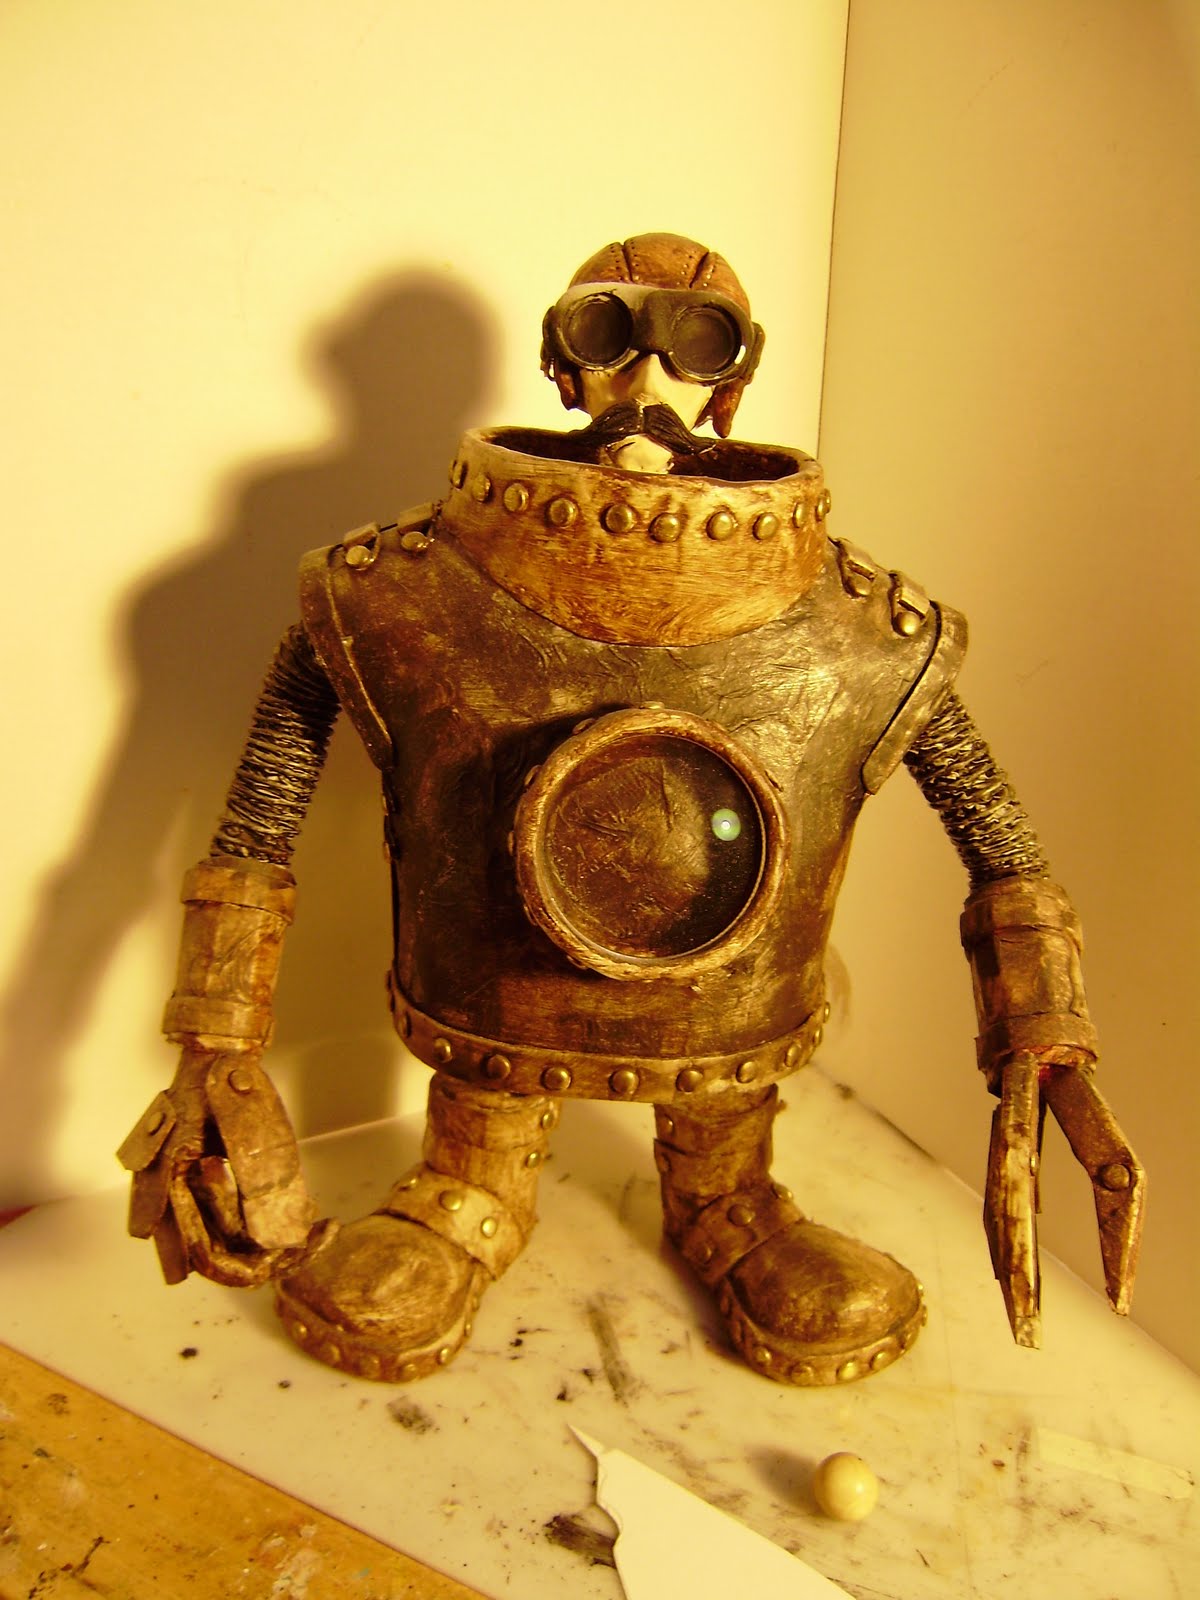
This was a modified version of my steam punk droid made as an xmas present for my cricket obsessed dad


2 legs easier than 6 (or is it 8?)

After a few attempts to make a spider legged base I just wasn't geting anywhere, mostly as it looked too bulky and didn't give the figure the precarious look I wanted. (I've since seen a lovely tripod design which would have been perfect)

Anyway keen to move on I sketched some designs based on animal legs, which look very much like Imperial walker legs because I guess that's where ILM got their design from, still looks good though.

I've used a basic mdf one piece leg which I'm adding too to give the effect I want. This was a quick and simple way of making the figure stand up so I could move onto adding the chair.
I need to figure out a way of creating some nice pistons so the legs look like they could function and add a boiler too the back of the chair. This will alos have lots of funky consoles and controls coming off it as well as some kind of foot support for the stooped figure. Not really sure how he will be finished, possibly lots of tubes coming off him.


Below are some images I found for inspiration. I love the metal jaguar by artist Andrew Chase
his work is amazing and well worth checking out.


spider chair

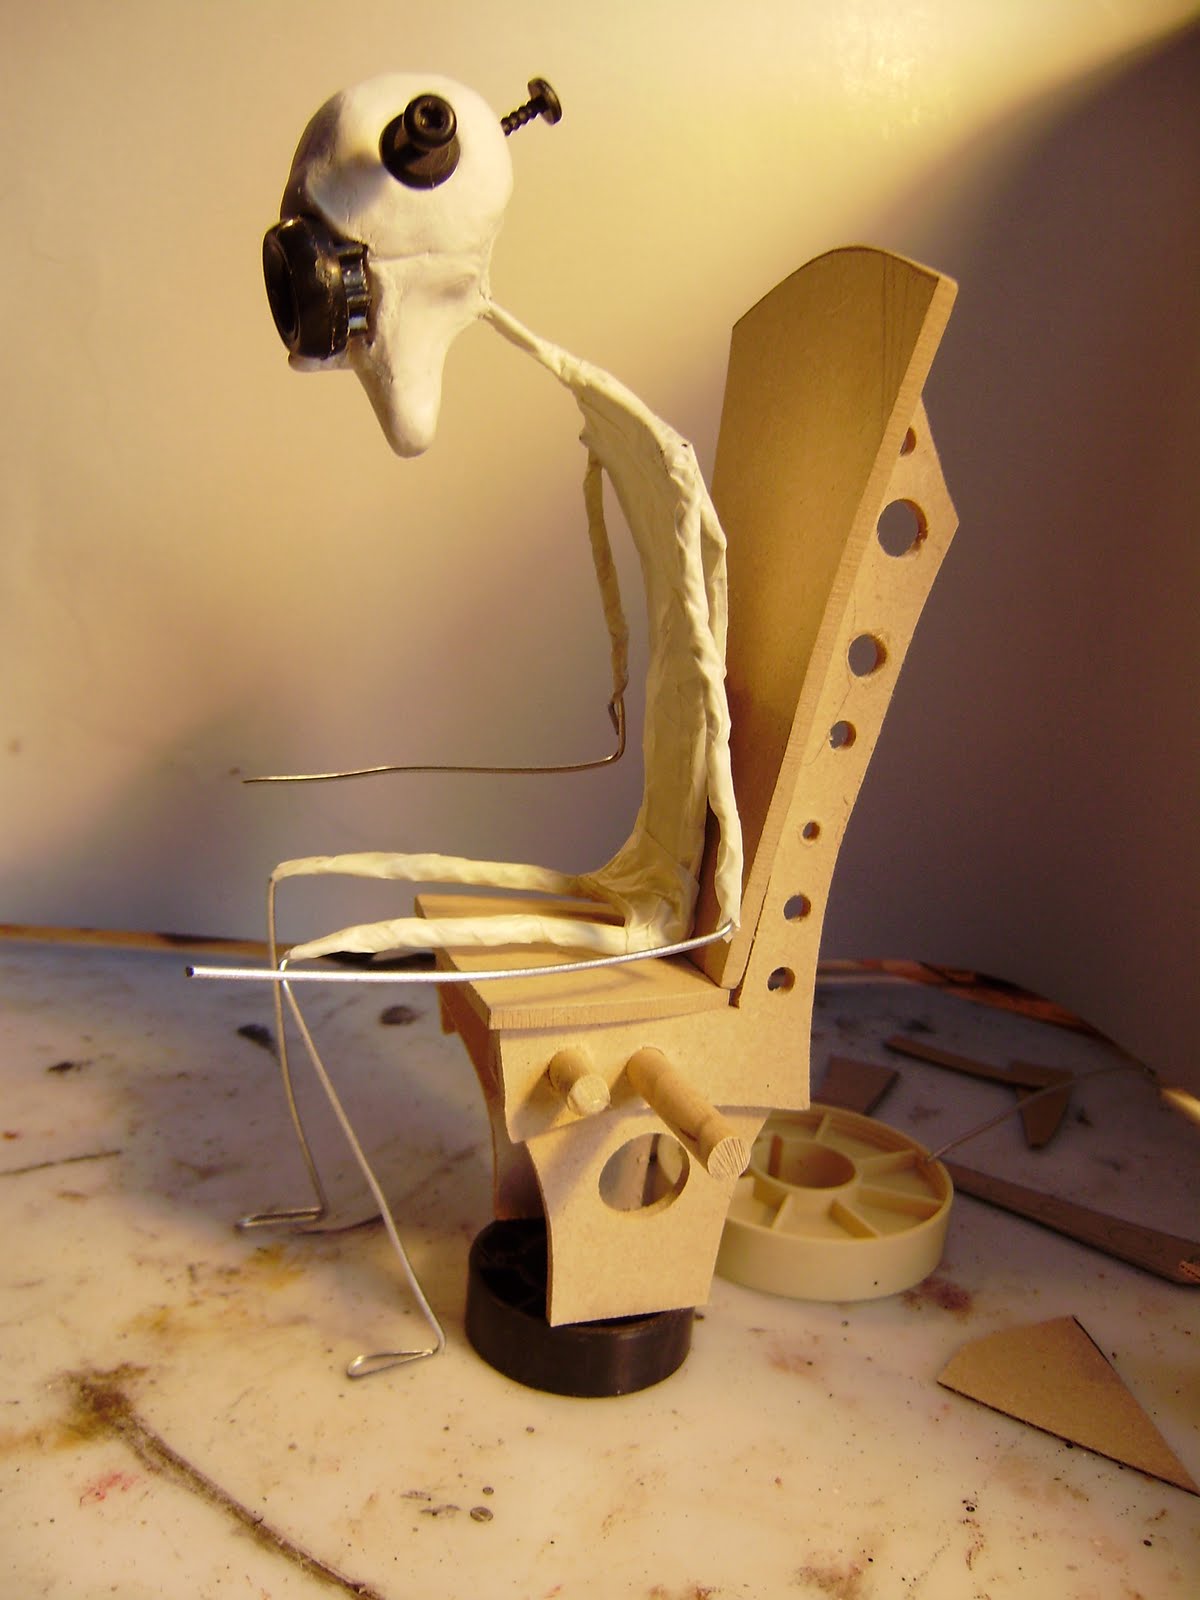
The last few months have been a creative vacuum, too tired and cold and with no clear ideas to get engaged with. Now school hols are here I feel revived. I've had the idea of some kind of robotic chair for some kind and while sat doodling some head ideas during a cover lesson yesterday I came up with a clear idea of a thin little guy on a chair with lots of controls which moves around on spider legs. Kind of a Davros like figure judging by the eloctodes sticking out of his head (I'm fed up of top hats)


While making the chair I sat the driver in 2 poses, one as intended stooped over the controls sat vertical, (as seen below) another with him led back in a more racing car pose. I like this second idea but was worried it was too much like the racers in Phantom Menace, maybe I'll make both.