describing my work

A friend described my work thus:
"Crafted of Puck's breath, and Smaug-snot"
which I love.

Also I was recently described as a Womble artist as in my work "I make good use of the things that I find, things everyday folk leave behind."
So true.       

  
I guess I have to be Tobermory

Who will he be?

I'm taking a break form the Oz automata as the weather has been so nice I've not wanted to spend  much time in the studio. I just want a few hours here and there to fiddle with stuff, so I went back to an armature I started months ago.


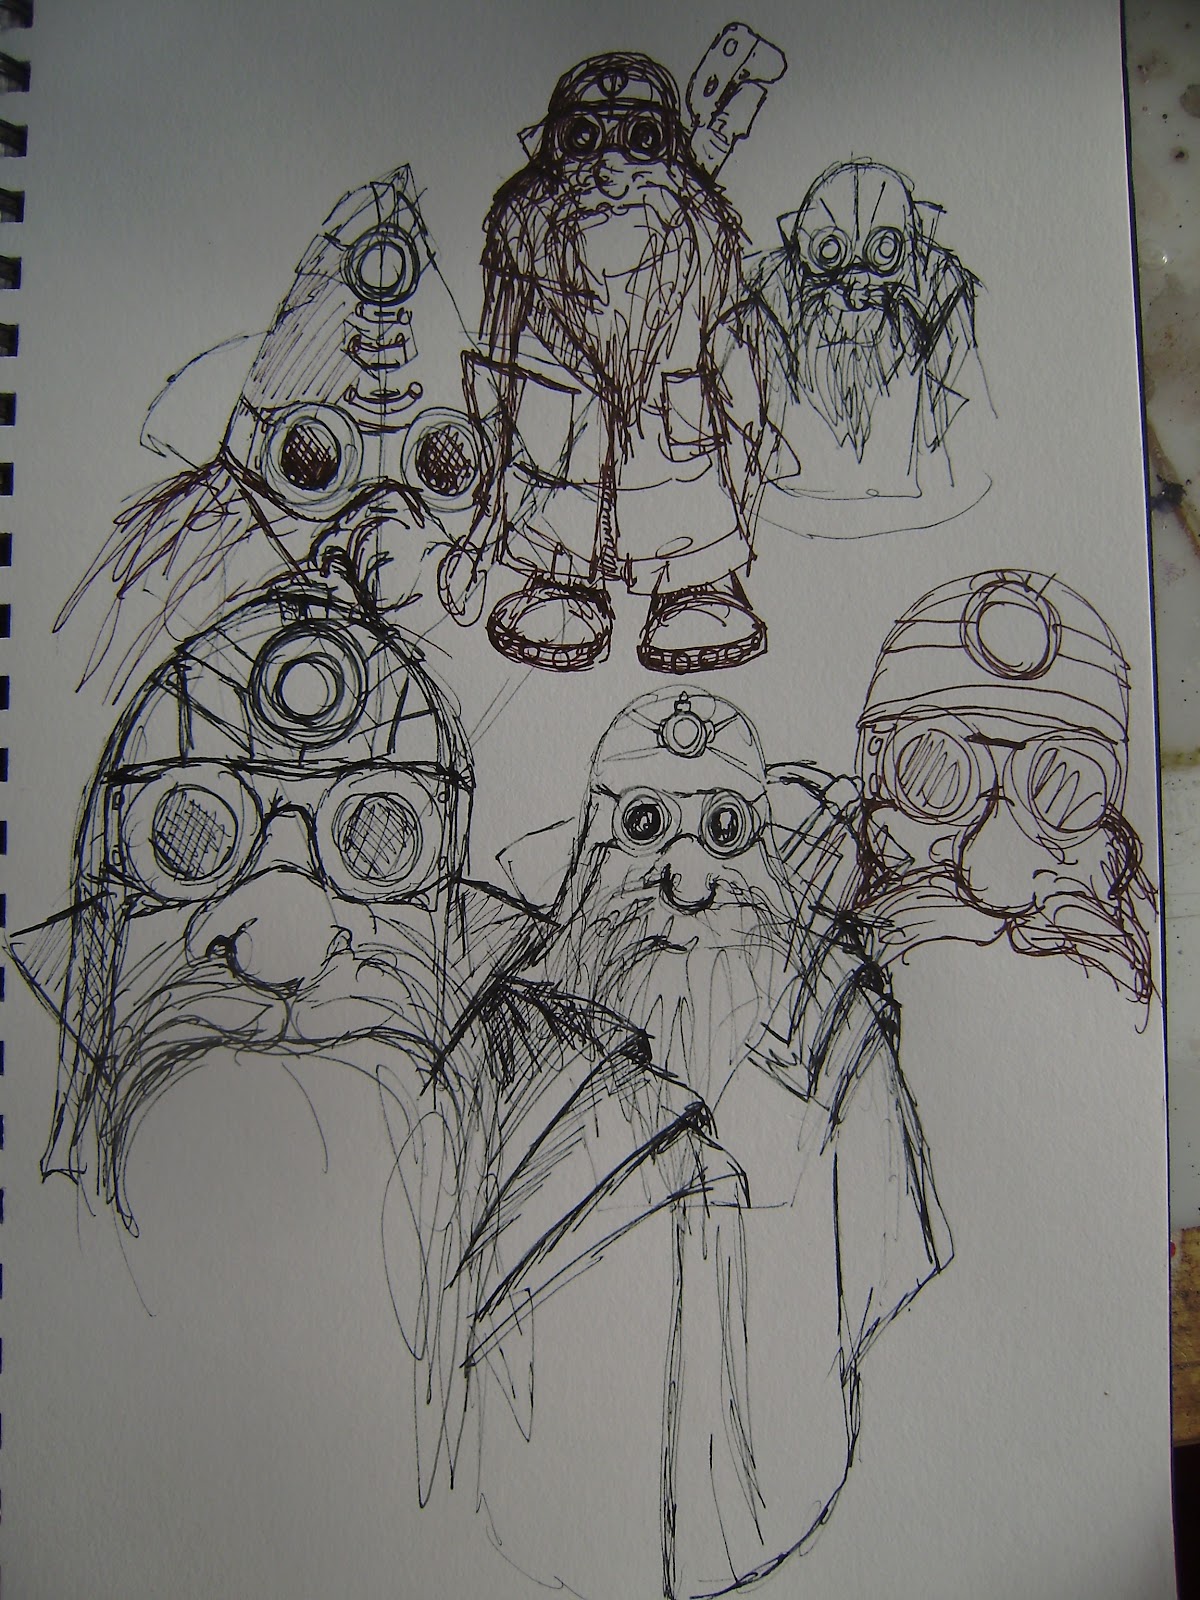
I started this piece, as I often do when short on ideas, with stock ideas: big feet and goggles. All built onto a basic armature of galvanised wire covered in tape. The body is a card shape (he will be stocky) and the head is Das built over 2 bottle tops.

The plastic bottle tops are sprayed. The hands and arms are wire inside plastic tubing (actually unused medical tubes) which gives a nice clean and bendable shape. The base of the body is starting to become shaped from thick card.

 It was at this point I'd abandoned the figure.
When I came back to him this weekend I started to build up the body with strips of card. Im not sure about the Iron Man style chest piece, I may remove it.
I've also added a chin to the head. He will probably have a scalf  later so only his nose pokes out. Or maybe  a beard?
The eyes are brass beads on rods bedded into the head. I will slowly add fake modelling water to them to create a glass finish; you can just make out the glint of the first coat.


The flying cap is taking shape. It's card covered in tape with a brass circle for the clasp.


I always enjoy making boots: the basic toe cap is built up from Das then edged with a strip of card dotted with split pins.


As with the flying cap straps card is covered with masking tape (ideally one big piece so no joins) shaped and studded with split pins. Each piece is coated with glue before joining together. When doing this it's important to get the grain of the card right so it bends nicely. In this case it goes vertically.

You can see here a piece being covered in tape, carefully cut with a knife and folded over (you can see the back)

The competed boots. For me feet are a big part of creating character and often happen before the head.

Steampunk wizard of oz

Not going to say much about this, except still a long way to go, but you can see the basic movements in what has become my most complex piece yet.

amazing work

A quick post to share some links to other artists I'm in touch with and whose work deserves seeing.

Firstly Rebecca Pople and co at UWE studying animation have just completed a great little short stop motion film at
http://guardiananimation.weebly.com/guardian-the-film.html

I was lucky enough to see their short film Guardian being made and even get a reference in an early mood board.

French matte painter Florence Dubin at http://artemisfullmoon.blogspot.com/ is using one of my pieces in her work. Below is an early version she's just sent me, I think it looks amazing and can't wait to see the finished piece.

Steampunk Oz

The Wizard's robot head is now complete, although I may tinker and add more cables and tubes as I go along.
It's taken a few weeks to get him right, because, as ever I'm figuring both the mechanism and the look of the piece as I go, and have added a few movements along the way. Some of these are quite subtle, such as the eyelid, but as a whole it works.

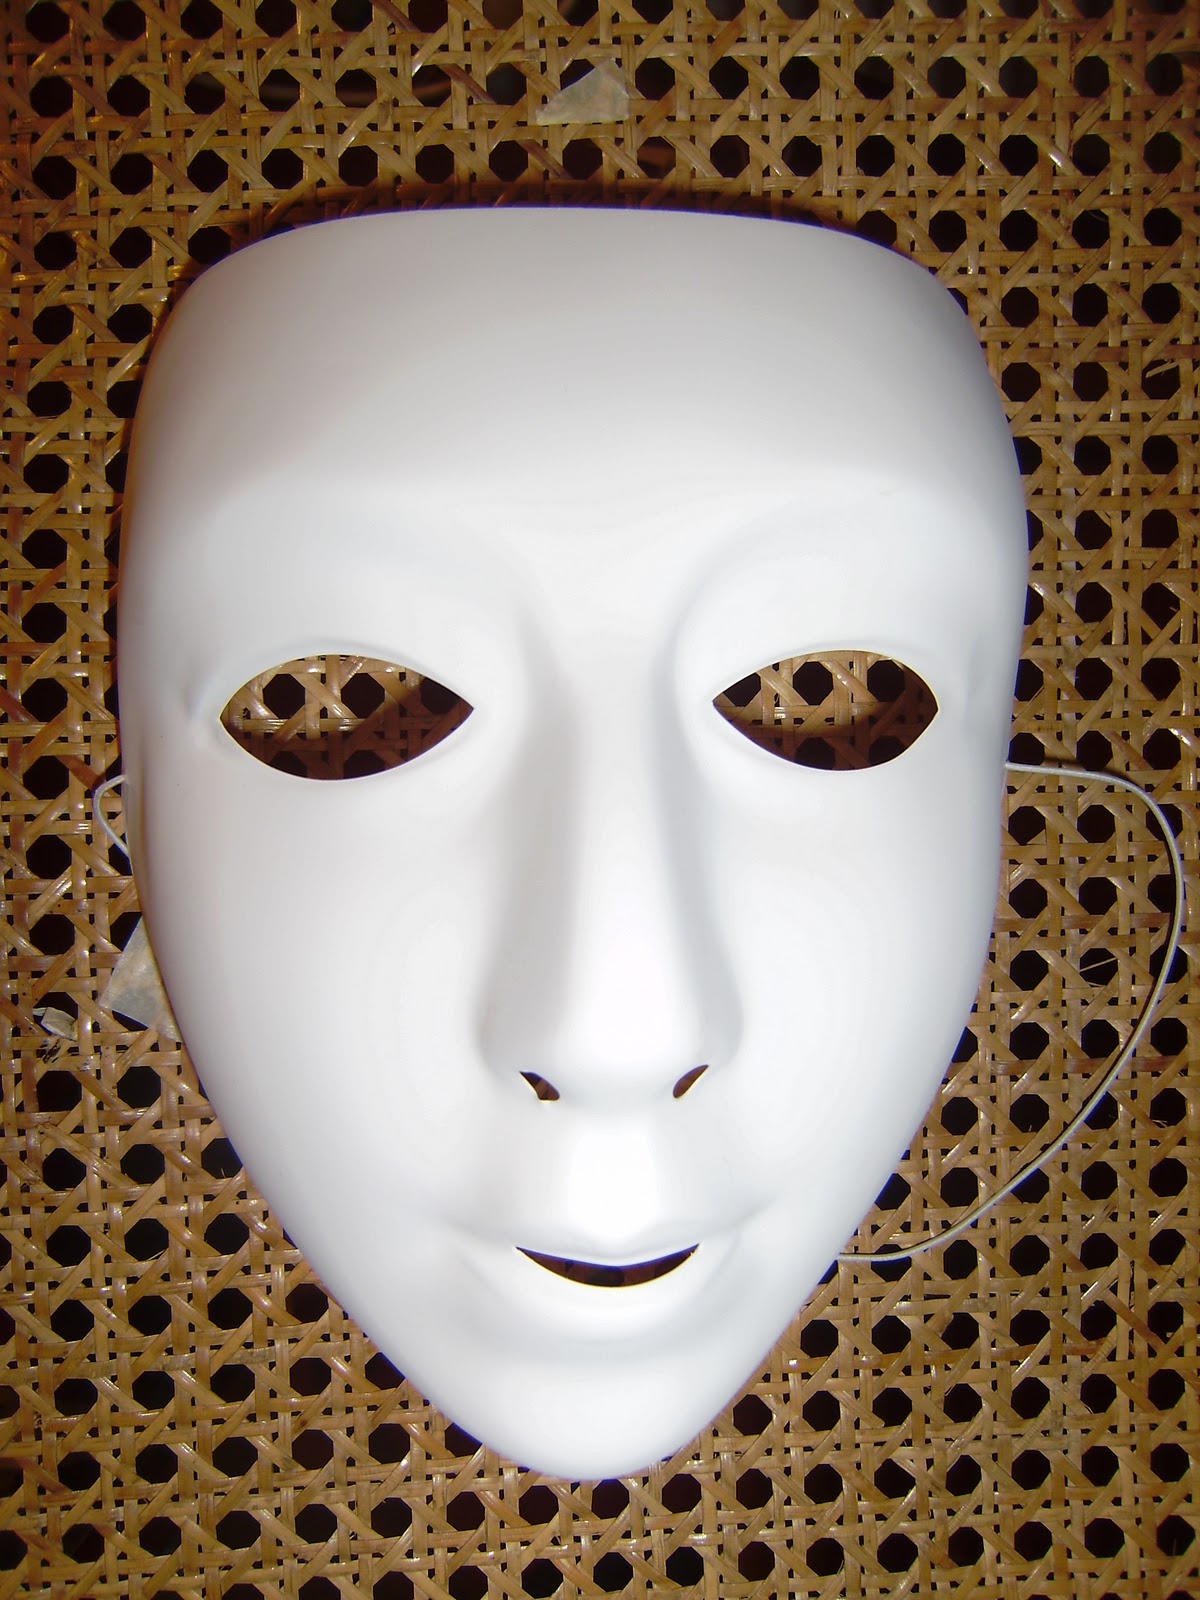
The mask started as a cheap plastic mask which I cut roughly to shape.
It was edged with florist wire and tape to give strength and covered on both sides with papier mache made from newspaper to give a good surface on which to build.
I've used a thick solid card and split pins here to give it a more angular and mechanical shape. The original nose was hidden below the triangular one. The edges of the card are secured with hot glue and covered with masking tape.
The jaw was built entirely from card, and as it was too light to drop open as the mechanism turned has about an inch of DAS inside it. A piece of rass wire created the jaw hinge.
Each section has a few layers of pva added along the way for strength and also as a good painting surface.


Brown and black acrylic are painted over the surface. I use a stiff brush to apply the raw paint and mix as I go, rubbing it back with paper towels. I don't use much paint, spreading it as far as it will, once dry I add more layers, often with a layer of glue in between.


Below you can see I've added some tubes and brass pipes as well as a telescopic eye from bits of brass and palstic.
The back part  of the head, which move it from side to side has a weird plastic bit added here. I did this because it needed a counter balance to stop it swinging to quickly. I will add some green fairy liquid to these.


Still lots of work to do 'behind the scenes' of the Wizard's head but I am pleased because this was the most complex part around which everything else will fit.

The Wizard of oZ

Since experimenting with automata over the last few months I've wanted to create something with a steampunk feel. This was a challenge firstly because I wanted to have a lot more gears and have all the movements showing as part of some weird machine. The first hurdle was learning to make gears that both look good and more importantly have a smooth and accurate movement. I've tried making these by hand with limited success. However I recently discovered the joys of a computer aided milling machine: plug in an image and the miller cuts exactly what you want, so armed with an online gear drawing program http://woodgears.ca/gear_cutting/template.html and a lot of help from the school tech dept I have started making lovely gears.

the gears after removal from the miller

all sanded and fitted.

Technical problems solved, now what to make?
I had started with a little guy turning a crank, a steam punk Igor perhaps?

I knew I wanted lots of movements and at least a couple of guys operating various levers etc. but I also wanted them to have a purpose.


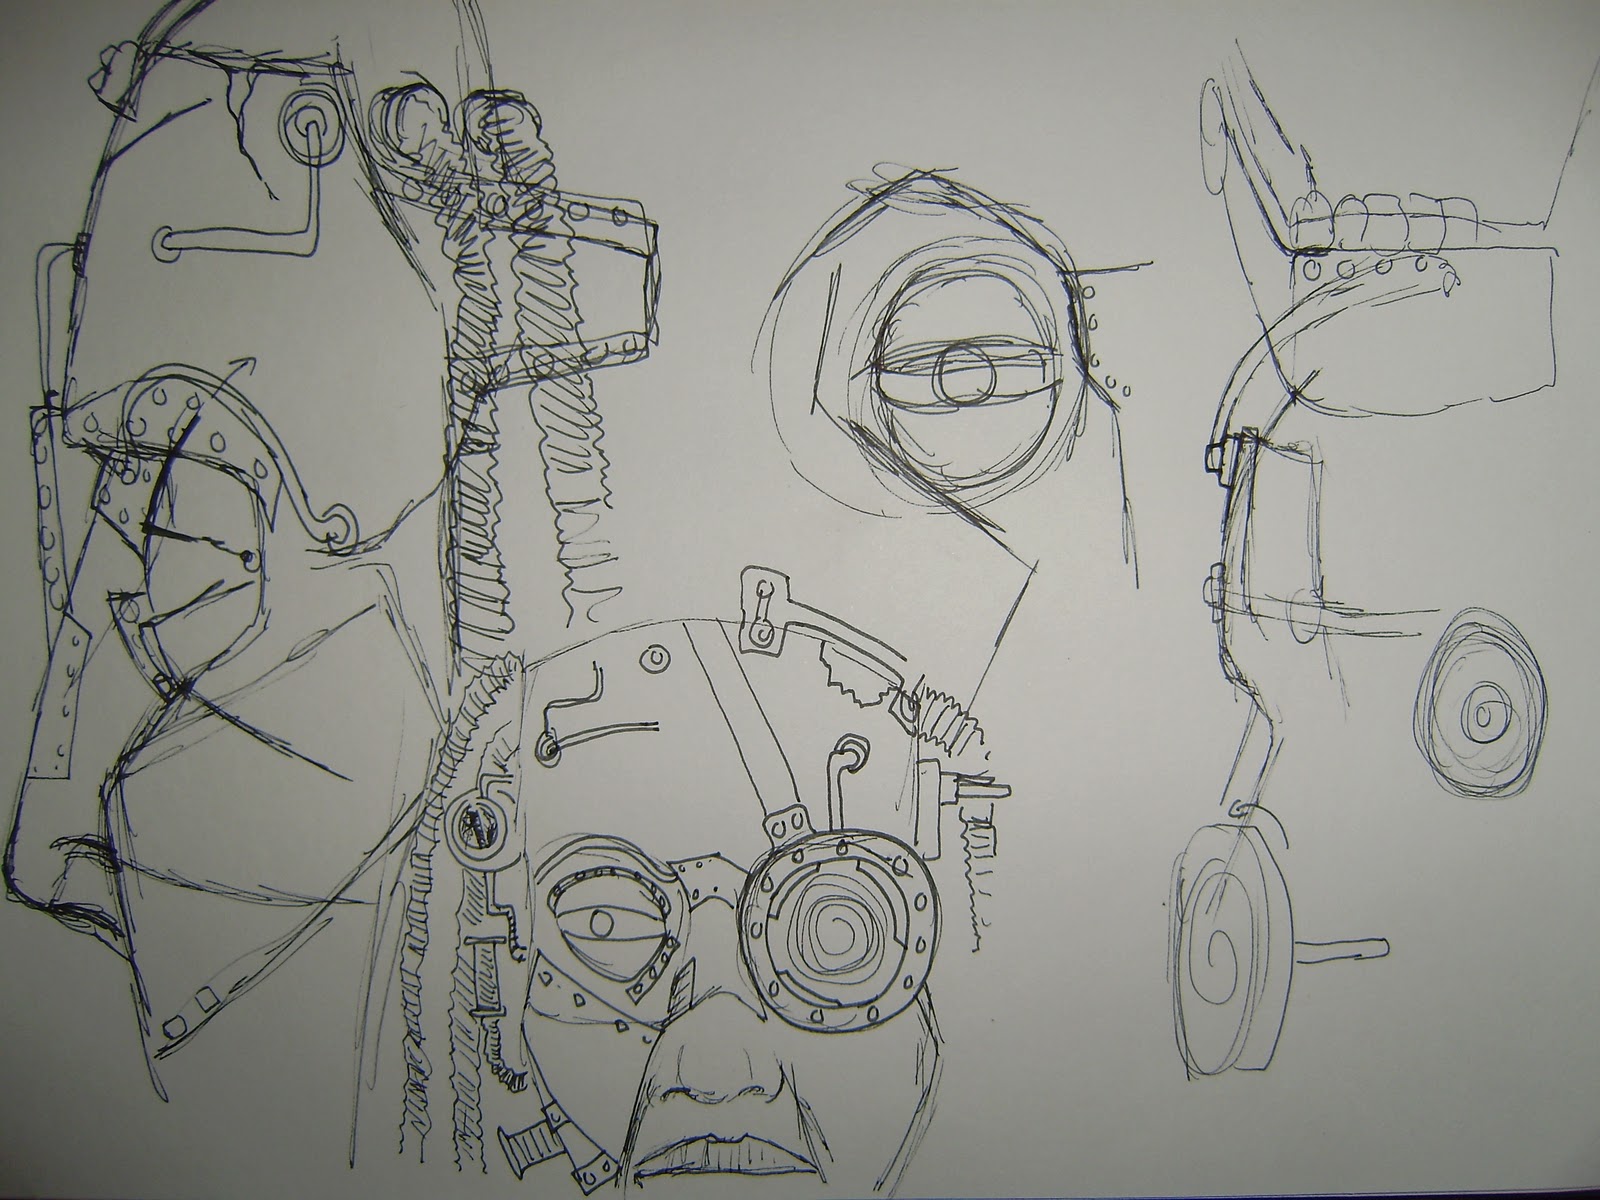
After a few sketches I came up with the idea of  a robot head which reminded me of The Wizard of Oz, where the Wizard is actually an illusion of smoke and mirrors operated by the PT Barnum like showman behind the curtain.
This presented lots of exciting challenges as I wanted the face of the robot to fairly complex: mouth, eyes, eyelids etc.
Below you can see the basic mechanisim worked out. As yet I've not added the other operator (s?) or any of the  tubes, vials, boilers and pipes that will give it a real steampunk flavor.

side view showing the head and operators chair.


Lots still to do as I'm spending a lot of time just working out how to get the movements to work.

Finished automata

Despite a few flaws, mostly as a result of figuring movements out as I went, this latest piece works well. The biggest problem was the coffin and rising corpse, the coffin doesn't open quite far enough, and to fix this I would have had to rebuild the entire piece. Also the handle is at the back which means the operator can't really see the working automata, again this would have needed a complete rebuild. That said I learnt a lot making this piece and know that I could fix these problems.

Below are some detail shots.
 The witches head, amde from sculpey, with 2 different beads for eyes, o give her an old rheumy look.


The witches hair is made from something I picked up from the scrapstore, glued to the head. It is hard to control so gives a suitably thin and whispy look.
The head and arms are operated by brass levers and thread. One arm only has a thread as at it moves it pulls on the other arm, unintentional but it works.


The graves are cut from thick marine ply and sponged with greyish acrylic, then the cracks are  exaggerated with black paint. Once attached they will be covere with bits of green modelling moss.
 The ghost is a simple head sculpted from Das on a brass rod with a cross piece for the shoulders. The one arm slots through this and is attached by a thread to the base, so as the ghost moves the tension on the tread makes the arm rise.
The figure is covered with thin white gauze to gve a ghostly finish.
 The corpse is built on a basic ply shape, hinged at the hips so it can sit up. the arm and the head are joined to the base with thread so as the corpse sits up they are pulled into position.
The figure is stained with yellow/brown acrylic to give and old look, the skull modelled in das has a bead eye and whisps of hair.
The coffin itself is wood line with red material.


you can see a more finished video clip of the automata on youtube.

http://www.youtube.com/watch?v=m1w11UmCVEw

Raising the dead automata


I've nearly finished this latest automata after a week long session in my studio over the holiday period. My aim was to experiment with gears that would allow different figures to move at faster or slower speeds by using a ratchet (see alst blog) This was actually fairly easy, but it took me a while to get the rest of the movements correct: a coffin lid slowly opening, a corpse sitting up and then falling back down, the witch swaying from side to side and a ghost appearing in the background.


The coffin was the hardest part and then putting all the bits together so they sycnchronised. I tried various versions and took the whole thing apart many times but finally have something that works. There will be a video of the movement later, but for now I'm putting the finshing touches to the figures and background.


Making the coffin work
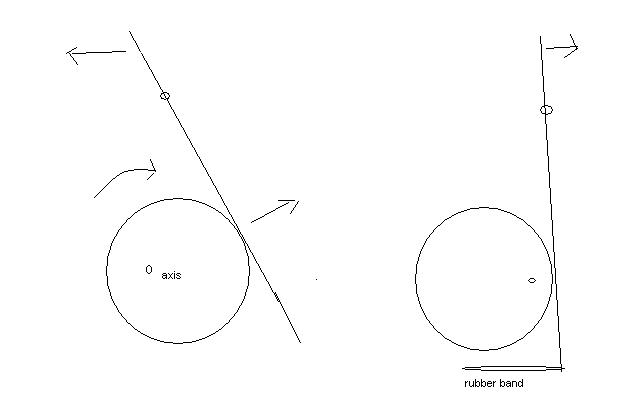
Below you can see the cam which opens the coffin lid, it took ages to get this right. The cam, operated from the ratchet, slowly turns and pushes the bar down, this in turn pulls a lever which lifts the coffin lid. I've added a curve to the wooden part of the bar because as the cam turns, getting bigger and so applying pressure further from the bars it's axis it started to drop again


Here you can see the mechanism through the coffin, the mechanism above pulls the lever which opens the lid, the weight of which closes it again.


The mechanism from the other side. On the right you can see another cam which will operate the corpse. basically as the cam turns it pushes the wooden bar down, when it gets to the end of the curve the bar drops back into place, allowing the corpse to fall back into the coffin.


 The Witches mechanism
I've split the mechanism into two halves, on the other side of the ratchet mechanism is a cog and crank operating the witch. As the crank turns it moves the witches arms up and down by pulling on the cords.
On the right you can just see another cam which will make the witch sway from side to side. These mechanisms are turned by the handle at the back and like previous sculptures move at the speed the handle is turned.
On the left is another cam, this time operating from the second, slower movement allowing a ghost to sway slowly from side to side.


I've used a number of cams in this automata as they are a simple way of moving something, the diagram below, I hope, explains the basic principle.

The corpse
Now that the mechanism is sorted I can focus on the actual characters, although there will be a few more movements to add as I go. I'll add more detailed shots later, but for now here is the corpse the witch will be rasing from his coffin.


wakey wakey

I'm continuing experimenting wth automata and am now attempting something a bit more complex. I want to create a piece that has a sequence of events rather than just continual repeating actions. The plan is for a witch, standing over a grave, waving her arms while a coffin lid slowly opens and up rises a figure.
Someone suggested using a ratchet, so I decided to experiment.
You can see the results so far, and although it's a bit rough it seems to do what I intended

Some of the movements need re working, and the cams which opperate the coffin lid and zombie need changing in size so the lid stays open longer but so far so good.
I made the spiral shaped cam by drawing 2 circles, adding lines every 20 degrees and then marking a point x cm from the centre, each subsequent point slightly further away and then joining them. Not mathematically perfect but works.


Witches

I've been really enjoying getting automata made for the open house on Sunday

Here's the latest video. My plan is to experiment a bit more with lighting and editing, even so the result is fun, if a bit crude.